My proposed business venture requires an app with reach to the majority of the market, so my preferred development strategy is to use Google’s open source Flutter framework to create mobile apps for both Android and iOS platforms. Flutter uses Dart, a strongly typed object orientated language, to build a single code base that is compiled to native code for both platforms, eliminating the need for separate code sources. Ahead-of-Time compilation removes the need for a bridge, so Flutter apps achieve faster and superior performance over those from alternative hybrid development frameworks, like React Native and Xamarin.
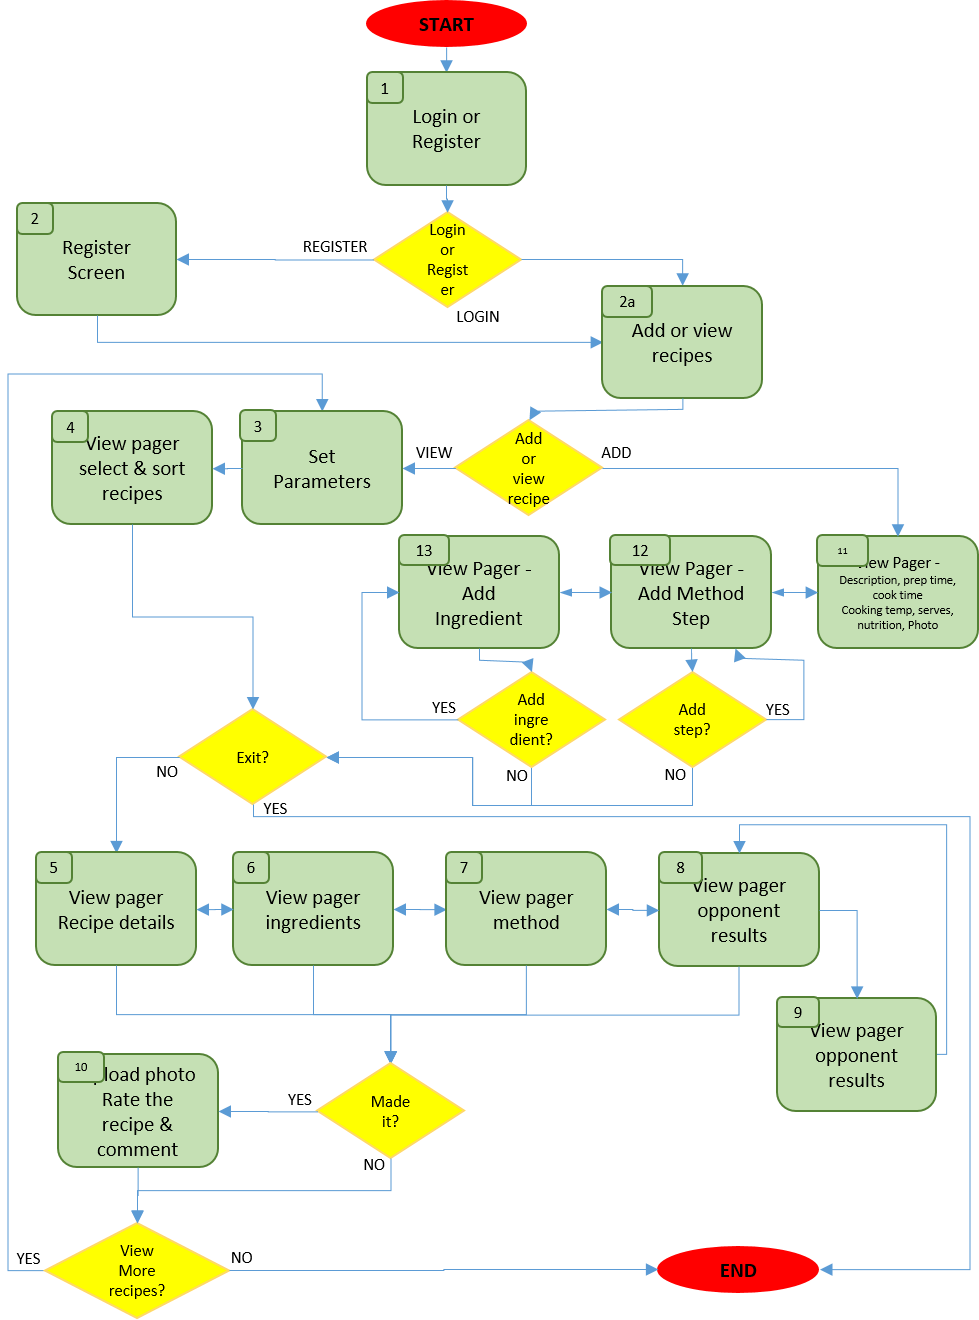
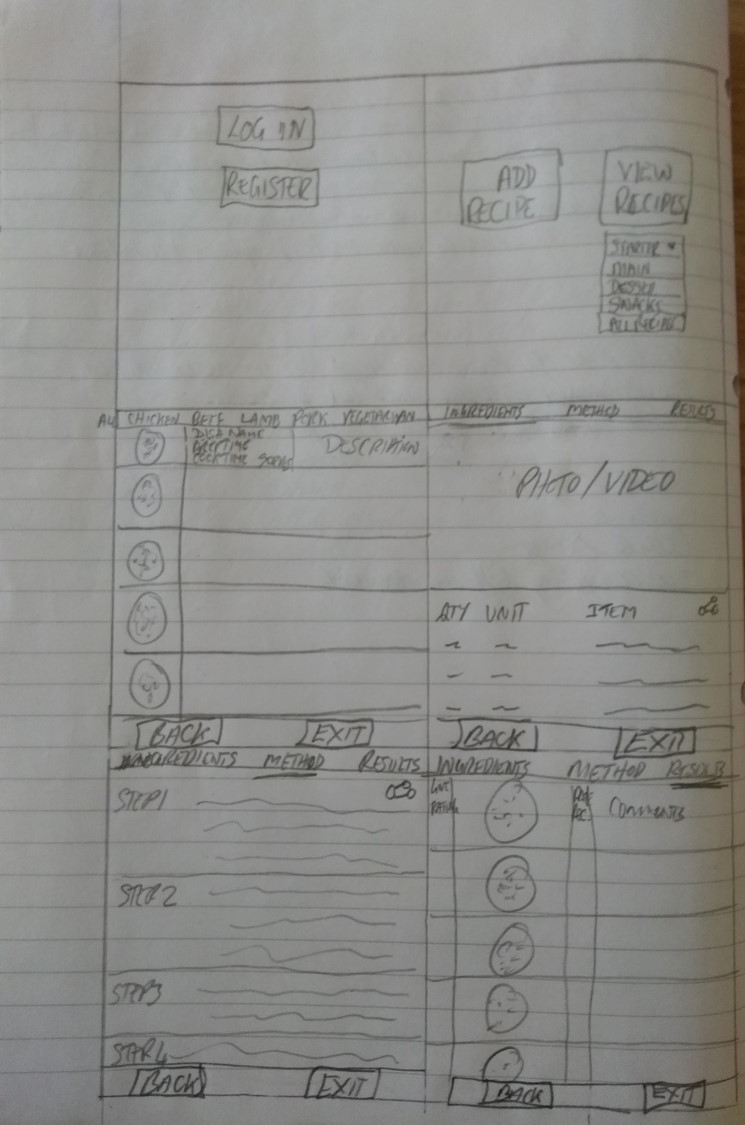
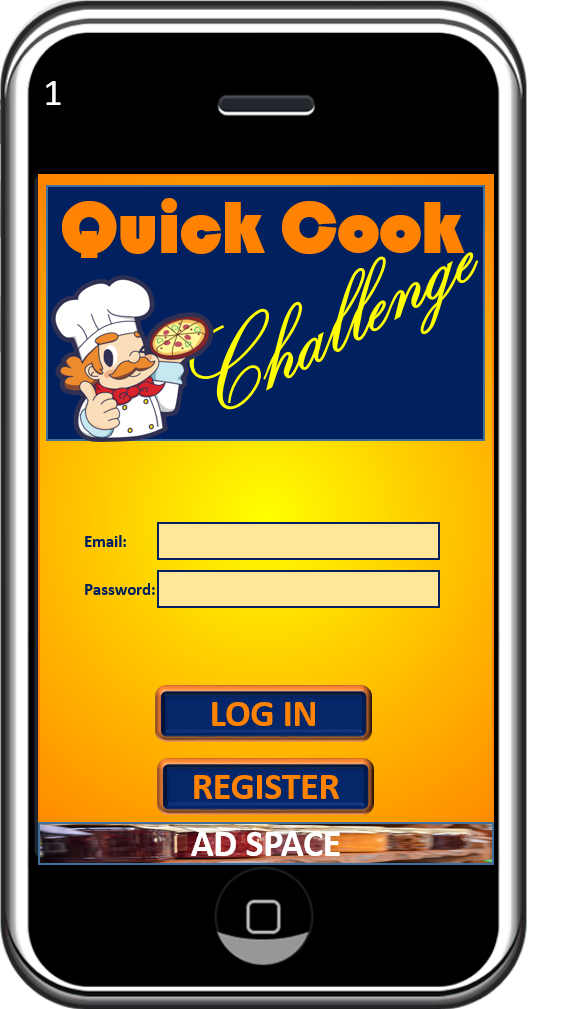
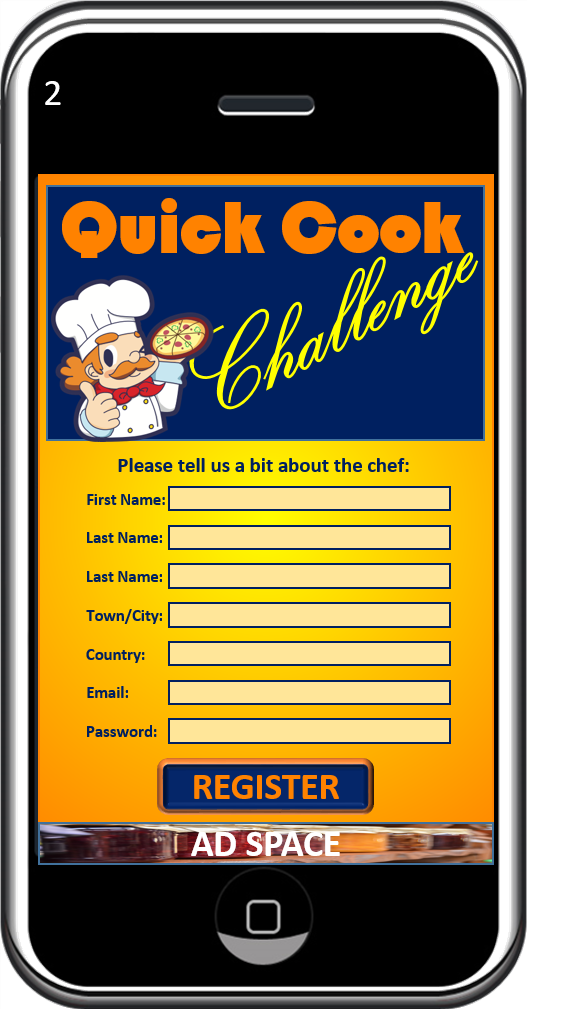
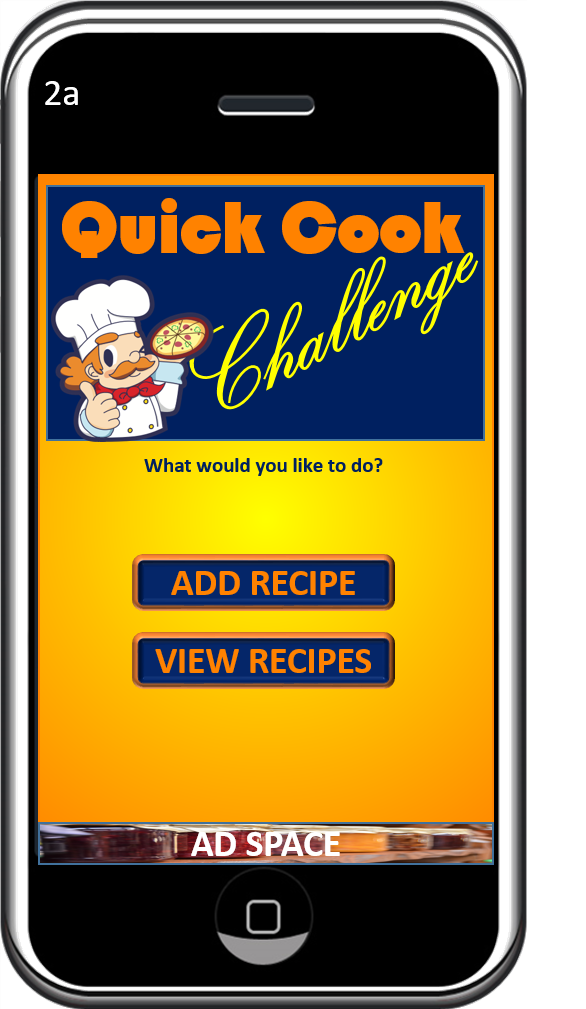
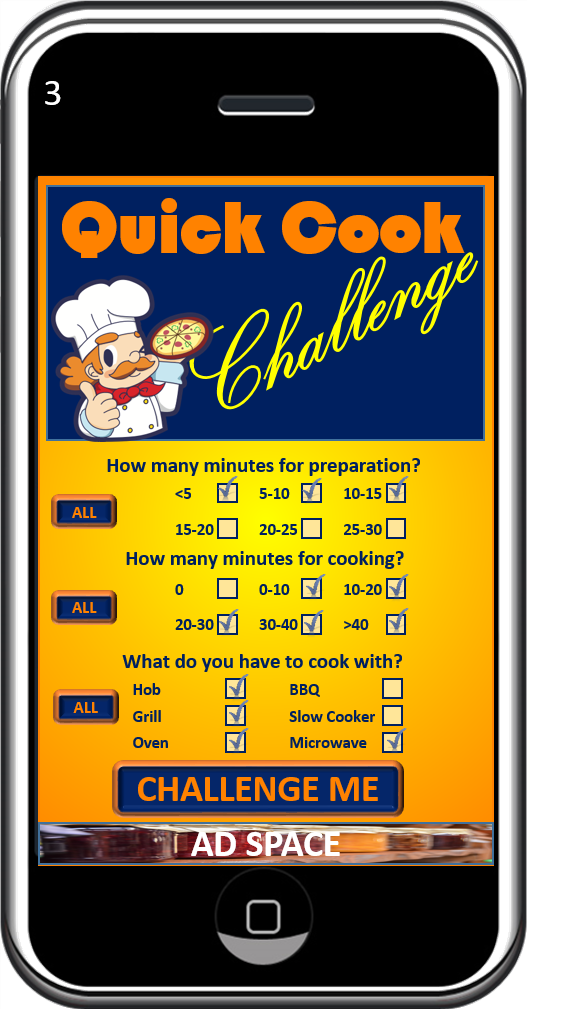
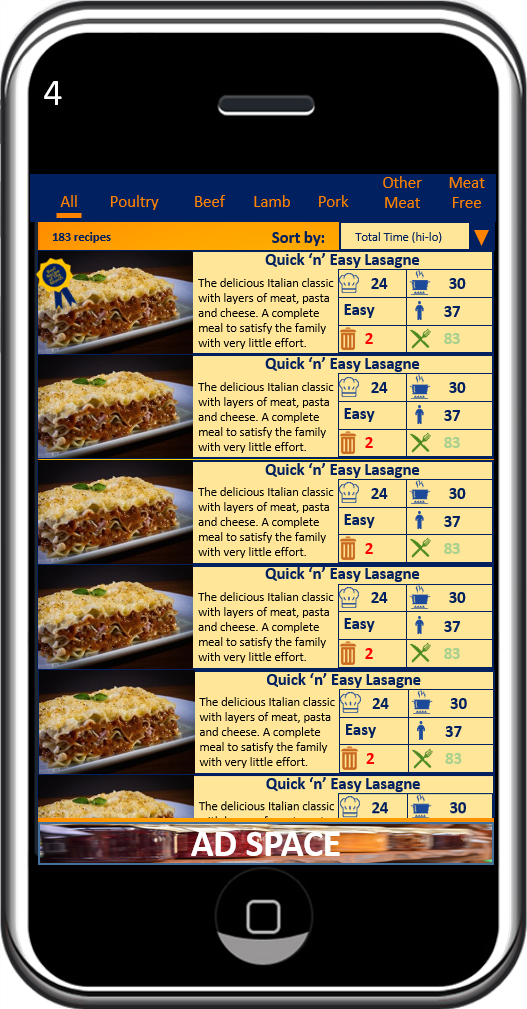
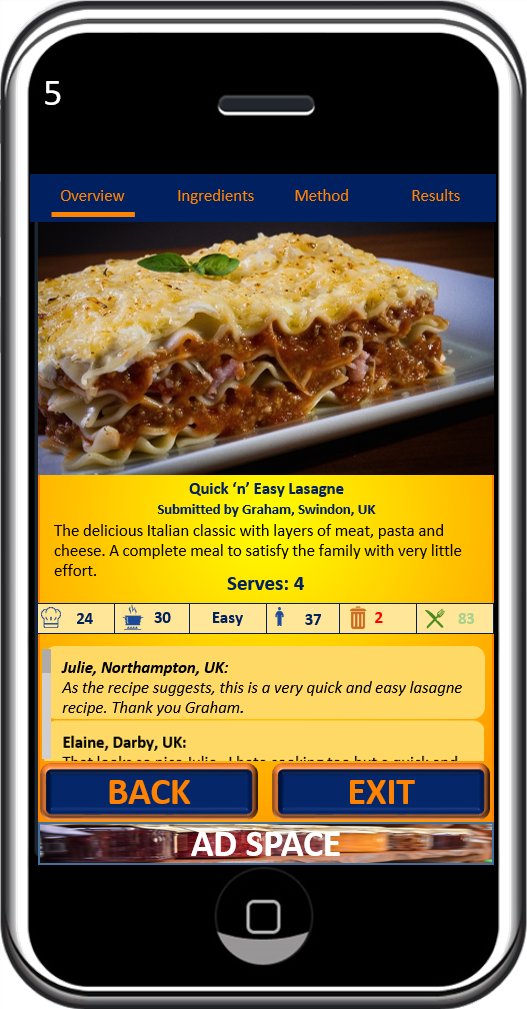
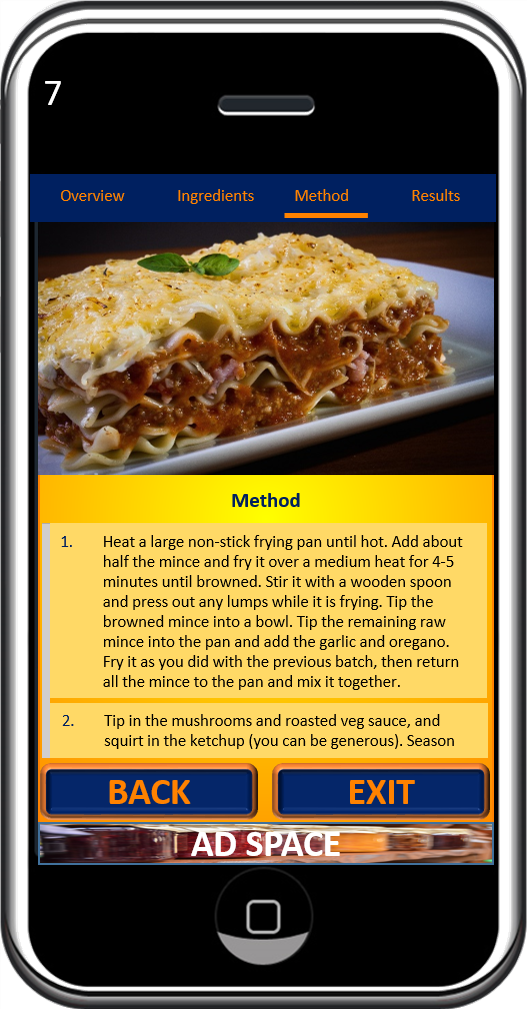
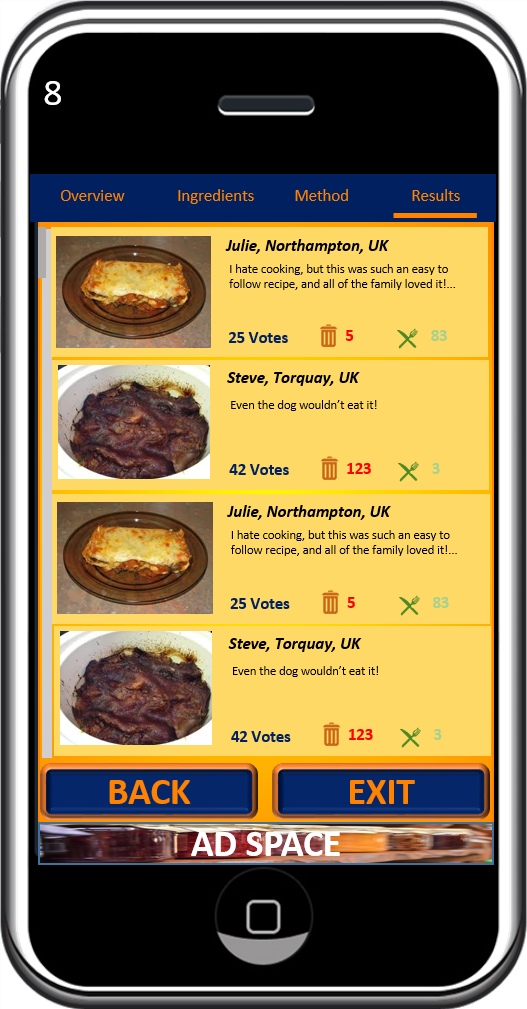
Bringing a very limited amount of Java coding experience to the course, and only managing to gain a brief introduction to Flutter at that time, restricted my deliverables to for the app jam to just a paper prototype for my “Quick Cook Challenge” concept. However, my Java work provided some familiarity with object orientated programming principles, which facilitated my shift to Dart, and I’ve found the language to be considerably easier to learn. I’ve since built several basic apps under the instruction of tutorial courses (1 Dart and 3 Flutter) that I’ve now (almost) completed. I’m becoming increasingly comfortable working with the Flutter framework, and rapidly gaining confidence in building basic screen layouts with step-by-step instruction. I’m also beginning to apply and deepen my comprehension by anticipating small code snippets within tutorials, ahead of the implementation. Engagement with the community through social media, particularly Facebook groups, Twitter and Medium, is also helping me to explore the potential that Flutter offers.
Once I’ve completed my third Flutter course, I will build my own layouts for the “Quick Cook Challenge” app from the jam.
While Flutter development will be an ongoing process for me, this SMART goal focuses on the short-term progress that I intend to make, in preparation for the next module. The following diagram illustrates my long-term vision for my route to mastery of the Flutter framework. The curve is inspired by Charles Handy’s concept of “Life Cycle Thinking” , and Whitney Johnson’s application of his S-curve (or Sigmoid Curve) concept to illustrate the development of competence in a new domain of expertise. I further developed this concept to reflect the anticipated evolution of the Flutter Framework, and the continued learning opportunity this will present during the “Mastery” phase. The red arrow indicates my perceived current progress along the curve:

Over the long-term, I anticipate 4 phases of development:
- BEGINNER: Learning to use Flutter to the point where I am capable of building a complete functional low-complexity multi-screen app, with effective screen transitions and logic that makes the app useful.
- RAPID PROGRESS: Exploring more advanced Flutter widgets and features, incorporating them into higher-complexity apps
- PLATEAU: A period of consolidation and experimentation, using widgets and plugin combinations in concert to develop more creative and original apps
- MASTERY: An infinitely ongoing phase for me to really test and push the limits of possibility within the framework, and expand the possibilities by developing my own plugins.
By 3rd June I will have built a complete functional prototype for my “Quick Cook Challenge” app (from the jam) to reach the end of my ‘Beginner’ phase.
Proficiency in developing Flutter apps is the key core capability I want to gain from this course. I’d considered the alternative strategy of partnering with an established Developer in order to launch my startup, but for various reasons (primarily financial and control), I opted to upskill myself instead. If I don’t achieve app development competency over the duration of the course, I will consider myself to have underachieved.
Tutorial courses work, and I will continue with them, but I need to incorporate alternative methods to help take my understanding and familiarity to a deeper level. I will use Google’s Flutter Widget Catalogue as a guide, and build my own representations of standard widgets (the building blocks of Flutter). I’m a visual learner, so building models that are meaningful to me provide opportunity for elaboration and active retrieval, which, according to Anders Ericsson’s Deliberate Practice theory, are proven strategies for strengthening comprehension.
I will prioritise the widgets with a Pareto (or, “law of the vital few”) approach, assuming 20% of the standard widgets will deliver 80% of the results I need. Joseph Juran suggested the principle after recognising that economist Vilfredo Pareto’s observed 80/20 relationship between land ownership and population, held validity as a general rule of thumb for much wider application. A relevant example: Microsoft reports that fixing the top 20% of reported bugs eliminates 80% of errors and system crashes. After addressing 20% of the widgets, I’ll add to my catalogue as I use new ones.
This milestone is predominantly a solo project, but support is available within the study group and the wider Flutter community. The SMART goal is:
Specific
I will build a functional prototype for my “Quick Cook Challenge” app.
Measurable
I will construct a Trello board to chart progress, and manage my schedule effectively, implementing weekly sprints to achieve the complete app.
Achievable
Time and technical capability are my constraints. The Trello board will help schedule my time effectively, and I’ll use tutorials and Stack Overflow to assist with any challenging aspects.
Relevant
This is the foundation milestone for my future Flutter progression, which is a key factor for success for my intended startup. It will also enable my contribution to collaborative coding projects during upcoming modules.
Time-Bound
This will be achieved by 3rd June. I will dedicate 18 hours per week to achieving this.